
 BEFORE WE MAKE a start on creating images, we need a canvas. That is to say, we need to define our cover.
To this end, we are going to build two templates. The first is a full cover, that is to say, front, back, and spine. The second is a display cover, featuring only the front and is where I had wear and tear.
Full Cover Template
First we need to decide on that canvas. I have elected for the 5x8 cover from Amazon’s CreateSpace, downloading it spaced for 200 pages. If you know the number of pages you need, then that’s grand, select what you want. However, it is easy enough to modify a cover design for a different spine size, so don’t worry about it.
Create a new document with this template in your photo editor. Your next step is to add some guide lines to mark out the spine, the bleed, and the safe zones. If you look to the layers palette on the right, you’ll see the CreateSpace template on the bottom layer and then two groups. The grunge group is not something to worry about yet but in between this and the base layer is were we will create a series of groups, each one being a different cover design. To start with, we’re going to create something fairly free form.
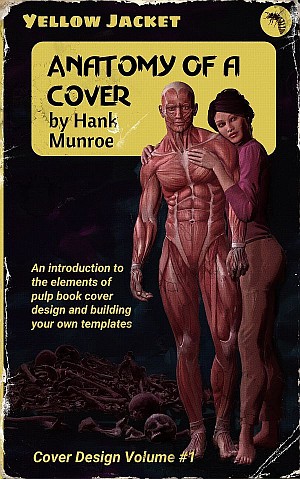
 Click on the screenshots to enlarge them.
The order of the three groups is important, so do make sure you keep them stacked correctly.
1. Front Cover Group
 We’ll begin at the bottom with the front cover. Start by creating a new pixel layer filled with grey - this is our stand-in for the cover art. Next, you want a new layer for your publisher’s logo (I’ll write elsewhere why I think this sort of branding is important).
Finally, you need to add three text elements, each on its own layer. You’ll need the title, the author, and the tag line. I always use some place-holder text in a suitable font as it helps me visualize the layout.
Group the three text layers together and then group that with the other front cover elements.
2. Back Cover Group

Most self and Indie published books are never going to see the inside of a bricks and mortar bookshop, so frankly, the back cover is just not that important. We want it to look good but we don’t have to do wrap around images. So, the base layer for the back needs to be a rectangle of solid colour that extends over the spine.
On top of that, we want a white rectangle in place for the barcode (the downloaded template will show you where to place that), along with another publisher’s logo.

After this, we have another group of text elements. There’s a back tag at the top to help hook an interested reader, there’s the blurb below that to tell the reader more about what they might be buying, other titles they might be interested in, an endorsement, and finally the prices (though you may prefer not to have these printed).
3. Spine Group

There are just three elements here - the title, the author, and a publisher’s logo.
4. The Grunge Layers

These are two optional layers. The first is layer of grain and second is a layer of grunge created with some photoshop brushes. Turn the visibility on this group off until you need it.

With these in place, it only remains to save out as something like “Paperback_Template_5x8” As I mentioned, we’ll be adding designs to this template in future tutorials.
Display Template

Before you can build this, you are going to need to do some preparation.
You are going to need to find yourself one or two old paperbacks with a dark cover and plenty of edge-wear and scan them at a fairly high resolution. I’ve used my tatty old copy of Spiders by Richard Lewis - he wrote quite a few books of this ilk, including a sequel to this one. I’m not going to recommend them as such unless, like me, you love this sort of trash - ie. 70s and 80s British horror.

Now a boring job. You need to open these scans in your photo editor and carefully select the edge-wear to separate from the cover into new layers.

You will also need to source some photoshop brushes for creases and stains.
Create a new document 5x8 in size.
Give it a grey base layer to stand in for the cover.
Add the two edge-wear layers on top of that.
Next, add layers with creases and stains.
And that’s it, you are now good to go.
No comments:
Post a Comment