
UNDERWATER IMAGES NEED a couple of additional tricks to pull off. I'm going to assume that you've looked at building templates and the First Cover tutorial already and will dive right into this one. 'Deep Sea Thrillers' seem to be very popular these days, if only with the writers, so if you're going to supply for the modern pulp market, this is a genre you should work with.
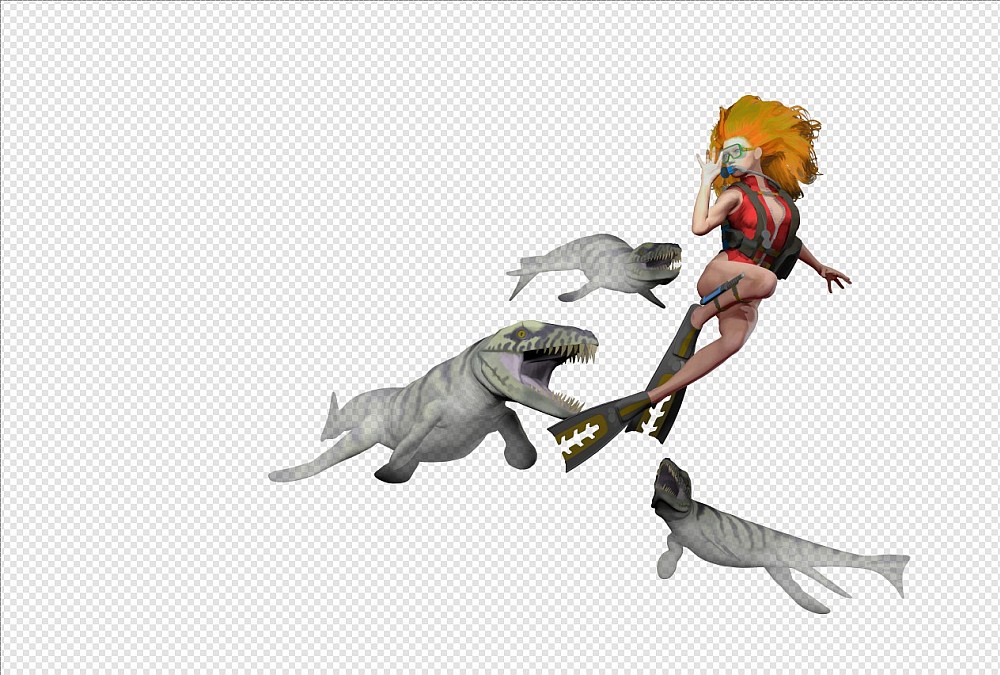
If you are using 3D staging software like Poser, then fortunately, there are a lot of underwater monsters available to buy a very reasonable prices. You can find fantasy monsters, a giant octopus, creatures direct from Lovecraft's imagination, along with a large assortment of sharks, dolphins, and whales. Even a few fish. Best of all, there are lots of prehistoric beasts, most by a chap who sells under the name of Dinoraul. I shall do some posts featuring his work at some point but really, if you mean to do pulp at all, burn that name into your brain - great prehistoric models, and great fantasy beasts. The creatures in this image are his.

I've used one of my own pre-set characters, my go-to for this type of scene. As per usual, a very simple scene to set up, with very simple lighting and modest render settings.

As before, you'll want to play with the colours, highlights, and shadows before running it through a filter ready for taking into ArtRage.
This time however, we have another preparatory step. Now there are different ways of doing this. One would be to render a depth map to use as a making layer. Life's too short. The other is to paint a mask layer yourself. I'm too lazy.

Seriously, Copy Flattened Image, past as a new layer, make everything else invisible, and then take a low opacity eraser and attack. Here's three passes with an eraser.
Export this as a PNG file to use as your trace image.

Create a new document in ArtRage, setting up as before and painting your back ground.

This time, when using the palette knife on the beasties, you can blend them into the water a little more to good effect. However, if, looking at this, you think it's all a bit too sharp for underwater, you would be right.

Create a new layer, fill it with blue and reduce the opacity until you are happy. Again, I'm sure there are better ways but this is easy and you can always use an eraser on areas where you want things to be sharp.

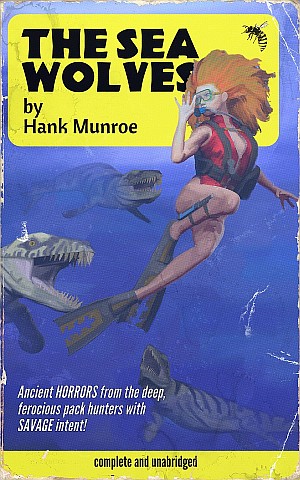
Now open up your paperback template in your photo editor. I've made a selection around the main figure, copied and pasted the selection to a new layer. Then I've selected the two layers, copied them and pasted them into the paperback template.

You'll see that this template is a little different, having a panel for the title and author. I've moved the selection layer above the text so that the figure now overlaps with the title panel.

I then quickly use a blur tool around the edges of the overlapped area.

Now just process the image as before, finishing with halftone before taking into you display template.

The title font on this one is called Cave Girl Gothic and is from the Scriptorium. One of my favourites.
No comments:
Post a Comment